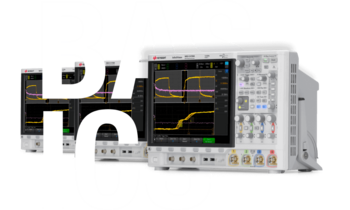
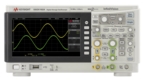
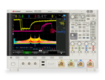
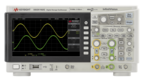
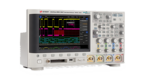
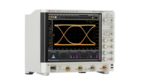
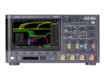
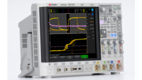













是德科技以旧换新
以旧换新,升级产品,降低成本。
查看“以旧换新”Oscilloscope Quick-Facts
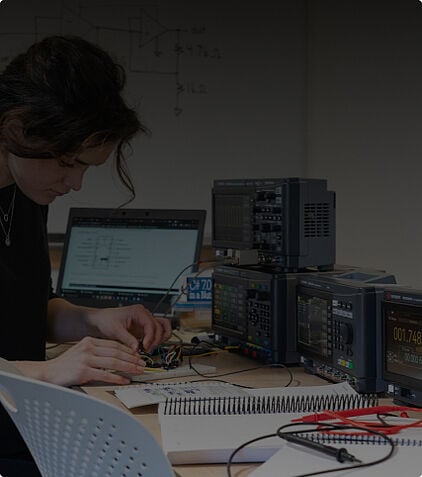
Simply put, an oscilloscope is your go-to instrument when conducting a wide range of measurements on an electric circuit. It is an indispensable tool when developing, testing and understanding electronic devices or components. An oscilloscope connects directly to your device under test (DUT) and visually displays the signal it receives. It allows for extensive analysis and troubleshooting when working with electrical and electronic circuitry, making it the single most versatile and valuable tool on your workbench.
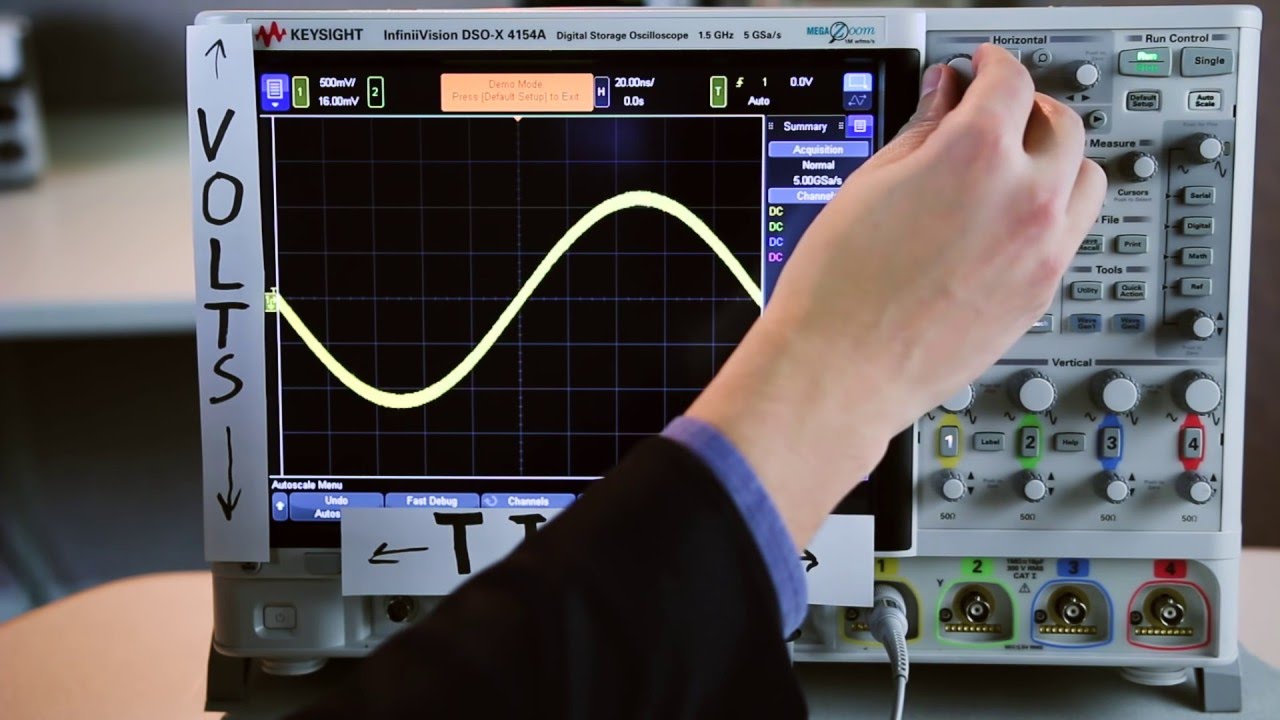
Watch the “Oscilloscope Survival Guide – The 2-Minute Guru (s1e1)” now
Digital Storage Oscilloscopes
One of the most commonly used types of scope is the Digital Storage Oscilloscope, or DSO. A DSO samples and converts analog inputs to digital data, making it available for display, analysis and storage (hence the name) for further comparisons. As a DSO can measure signals such as voltage and current over time with accuracy, this is a great choice to help with debugging and general diagnostics to ensure your circuits and devices behave exactly as intended.
Mixed-Signal Oscilloscopes
Mixed-Signal Oscilloscopes, or MSOs, go one step further. They provide all the capabilities of a DSO, but add the option of connecting a logic analyzer. This lets you simultaneously input both analog and digital signals. These can then be displayed and aligned all on the same screen. If you need to monitor and test time-sensitive interactions between analog and digital signals, this instrument will help you do just that. In addition, it tends to be more user-friendly than a pure logic analyzer: If you have worked with a DSO before, it will not be that difficult to switch to an MSO.
Conclusion
Oscilloscopes are vital tools for a wide variety of industries, such as telecommunication, engineering and the sciences. Read our full Oscilloscope Basics Guide form our Knowledge Hub. A sturdy instrument can potentially serve you for many years, making it well worth the investment. Should high prices have so far deterred you from purchasing an oscilloscope or upgrading your current one, the Keysight Used Equipment Platform might be just the solution for you. Here, you can find high-quality instruments at significant discounts. Thanks to our ongoing trade-in program, we are continually adding more items to our inventory. Check our latest offers above.
How you can and should use your oscilloscope depends on the model and accessories you have available as well as the measurements you are looking to perform. The simple steps below should set you up for most standard usage situations.
9 Simple Steps – This is How You Use Your Oscilloscope
- Start by connecting your probe to the oscilloscope and boot up the instrument.
- Make sure the correct channel is turned on and all others are turned off.
- Set coupling to DC to see the entire signal or to AC to filter out DC components.
- Make sure probe controls are set to the correct attenuation.
- Using the trigger button, set your trigger event and source.
- Test and tune your probe on the built-in square wave generator by attaching both the ground hook and probe tip. If the image of the waveform does not appear static yet, adjust the trigger level slightly to stabilize it.
- If needed, tune the compensation capacitor built into the probe head by adjusting the screw controlling it, until the edges of the square wave are perfectly angular – or simply use the “Auto” tune button, if your scope provides one.
- Now you’re ready to start your measurements. Attach your probe and ground clip to your device or component under test.
- Don’t forget to use the oscilloscopes display controls to center the resulting waveform on the screen and to zoom in or out as needed.
Overall the more capabilities your oscilloscope has to offer, the more complex setup will become. For example:
- If you are looking to use an MSO to acquire and analyze both analog and digital signals, timing skews can occur.
- De-skew controls will align the separate signals for accurate time correlation.
- You will also need to decide betweentiming and state acquisition, letting the scope either take rhythmically timed samples or whether to go by specific logic state events of the signal.
Work with your oscilloscope and its accompanying fact sheet or user guide to familiarize yourself with all the options available to you. Want to read more? Check out our Oscilloscope Basics Guide or watch our new Mega Guide on how to use oscilloscopes:
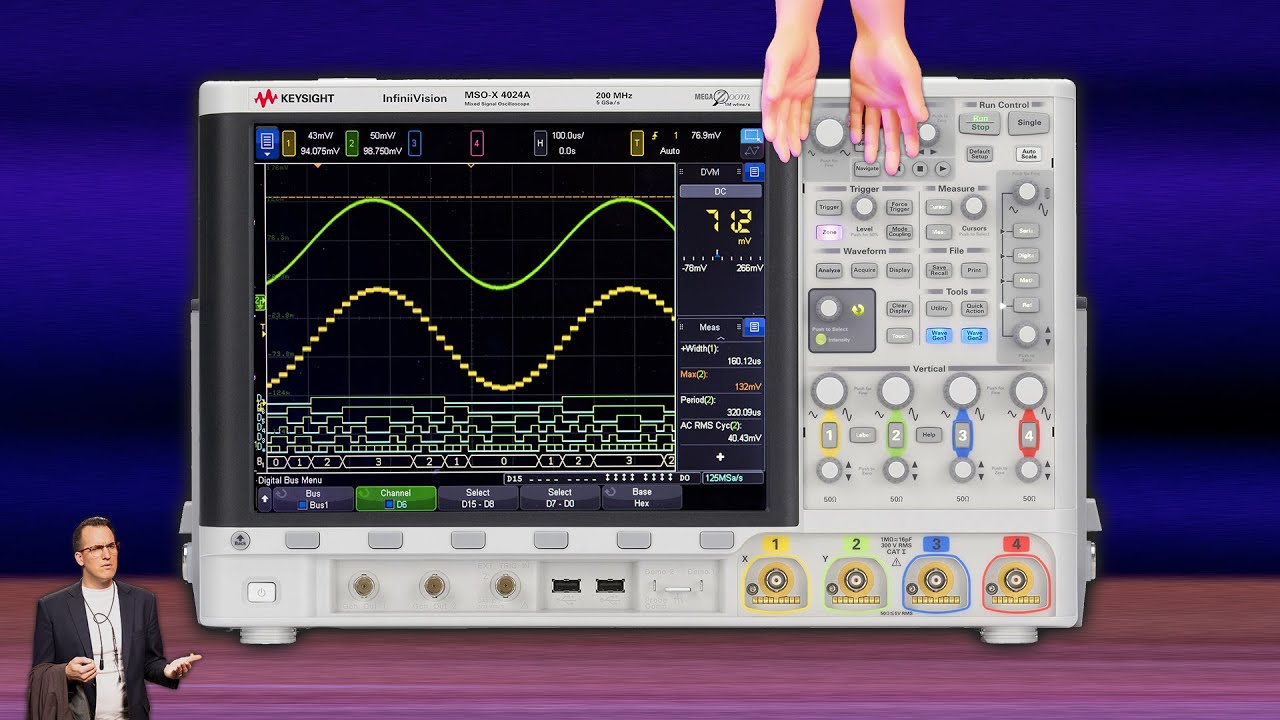
The default settings of most oscilloscopes will display voltage over time. In other words, the waveform displayed on the oscilloscope’s screen, maps a signal with voltage on the vertical or y-axis and time on the horizontal or x-axis. To review how to set up your oscilloscope for measurements have a look at the notes in the “How to Use an Oscilloscope” section above.

Watch “Measuring Voltage with an Oscilloscope – The Keysight 2-Minute Guru (s2e5)” now
Manually Calculating Voltage Using an Oscilloscope
The most basic way of calculating voltage is to then count divisions from top to bottom and multiply this by the volts/division (y-axis scale) displayed on the screen. With the majority of oscilloscopes, however, such manual calculations will be unnecessary.
The Easy Way of Calculating Voltage with your Oscilloscope
Simply choose the “measure” button or touch screen option and select “peak-to-peak voltage”. Alternatively, mark two points with the screen cursors to measure their difference. Some scopes even feature a fully integrated digital volt meter (DVM). With an MSO, you will be able to not only measure analog signals parameters such as voltage over time, but can also verify concurrent digital signal integrity simultaneously. Although triggering works very differently for digital and analog signals, your MSO will de-skew and synchronize them, allowing for accurate and easy measurements. It really provides almost all the functions of a logic analyzer with much greater ease of use and versatility.
Performing a Logic Circuit Test
On top of measuring voltage on your analog signal as described above, you can also use your MSO to measure the digital signal and perform a logic circuit test.
- Connect two oscilloscope probes to Channel 1 and Channel 2 and press the “Auto” key.
- Use the display controls to center both waveforms on the screen in order to show their intersections and a complete cycle.
- At the intersections of the waveforms, use the cursor to measure the voltage, i.e. the low and high voltage flips, then also record the logic output level, i.e. the logic high and logic low.
More on Oscilloscopes: How to use an Oscilloscope – The Oscilloscopes Basics Guide.
With your oscilloscope you can measure inductance even without an LCR meter. For example, you may use a current probe to measure the inductance on a voltage-current slope, by reading the peak current (amps) and time between pulse (microsecond). Inductance can be found by multiplying these values and dividing the sum by the peak current. You can also create a Tank circuit by setting up an inductor, with a known capacitance, and placing it in series with a resistor. Inductance can then be calculated from the resonant frequency. Alternatively, connect a resistor (with a known value) to the system or inductor under test. Apply a signal and adjust the frequency, so that equal voltages appear across both devices. A DSO will work just as well as an MSO here, as you will only need to rely on the analog functionalities of the scope. More about this topic in this our YouTube series:
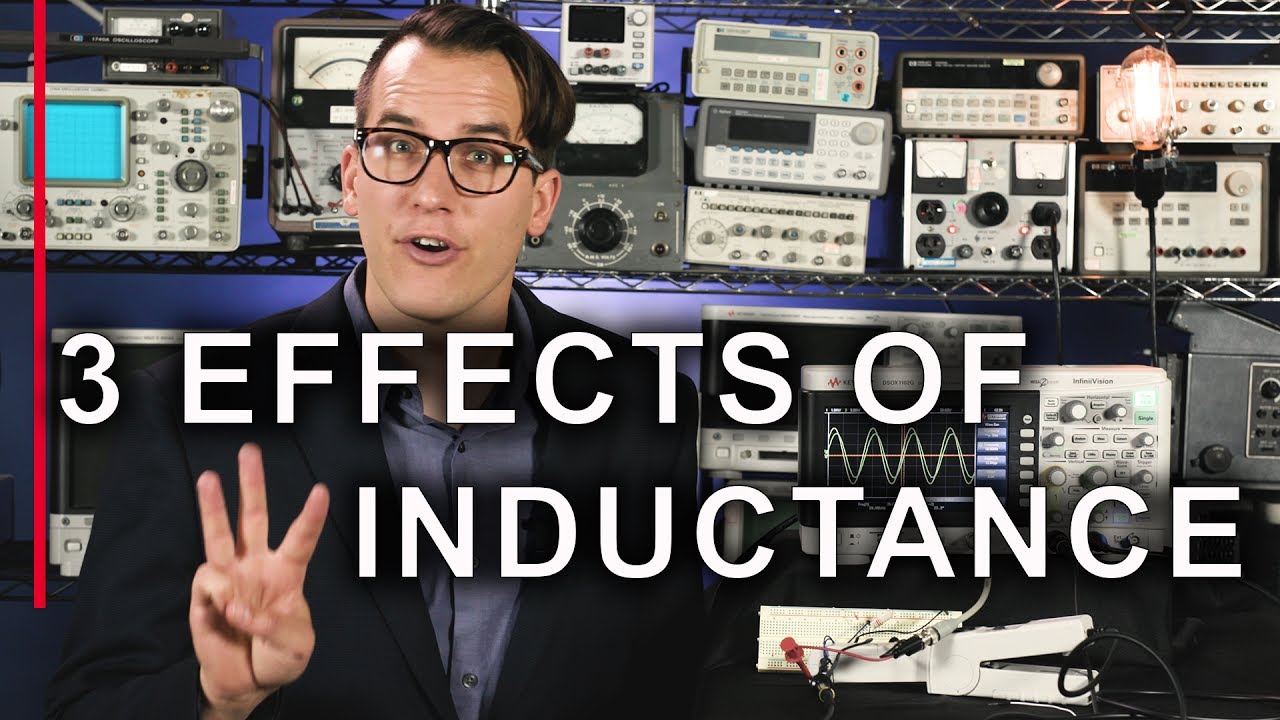
“What is Inductance? The 3 Effects of Inductors – The 2-Minute Guru (s2e9)”
Read more in our Oscilloscope Basics Guide.
Keysight offers pre-owned units at a savings of up to 70%. The units are refurbished by Keysight and are fully calibrated and ready to use.
To see our full range of premium used equipment, check out the complete listing here. You can easily search, based on specifications like bandwidth, sampling rate, and memory depth. If you need help choosing the right model for your needs, check out our helpful guides or fill out the “Contact Us” Form here.
When you purchase a high-quality used scope from Keysight, you get the same performance and functionality as a comparable new unit while saving up to 70%.
We offer two standards of used products: “Keysight Premium Used” and “Keysight Used”.
Keysight Premium Used:
Up to 70% savings
Like-new condition
Updated firmware
Fully calibrated
Like-new warranty up to 5 years (depending on the model and region)
Keysight Used:
Up to 90% savings
In full working condition
30-day right of return
Whether buying new or used, you can always count on the high quality and reliability for which Keysight is renowned.
The primary function of a scope is to measure waveforms of electrical signals. Engineers use them for troubleshooting circuits, testing equipment performance, and understanding electronic circuit behavior. Oscilloscope probes are connected to the circuit being tested so the scope displays voltages on its display screen. The user then adjusts controls to display signal amplitude and offset to observe the waveforms. The waveforms can then be recorded for future reference.
Engineers in many fields can benefit from the use of a scope. Non-engineers, such as technicians, electricians, and researchers, can also benefit from using an oscilloscope.
For example:
An engineer who needs to understand what's happening in the circuit they are working on
A technician who needs to troubleshoot equipment performance
A student who wants to learn more about circuits
One of the most common measurements made with a scope is current. Current is simply the measurement of the flow of electricity through a circuit or conductor, measured in amps. Since it's essential to understand how much current is being used in circuits, whether to protect the circuit or analyze power usage, this measurement can help determine if something is malfunctioning.
There are three types of current:
High current (hundreds to thousands of amps)
Low current (microamp to amp)
- In-between (10 milliamps to 30 amps).
Manual measurements, such as the Ohm's Law Method, can be used to measure current using your scope, but this can be inaccurate and difficult to document. A more efficient way to test current is using a current probe attached to your scope. You will observe your measurement in amps directly on your screen with no calculations required. Different types of current probes can be used with our premium used oscilloscopes.
For a quick and easy explanation of how to measure current with your oscilloscope, check out this video.
示波器速查资料
什么是示波器?
简单来说,当你在电路上进行大范围测量时,示波器是你必需的仪器。它是在开发、测试和了解电子设备或组件时不可或缺的一样工具。使用示波器时,直接将其连到被测设备上(DUT),就能直观显示出接收到的信号。示波器能在电气和电子电路中进行广泛的分析和故障排除,是您工作台上最好用、最有价值的工具。
观看《示波器速成指南-两分钟带你成专家(第一季第一集)》
关于数字存储示波器
数字存储示波器(DSO)是最常用的一种示波器。DSO采样并转化输入的模拟信号为数字数据,使其能够显示,分析和存储(DSO也因此得名),以便进一步进行比较。DSO可以精确的测量电压和电流等信号随时间的变化,这使其成为了调试和日常诊断的首选工具,确保电路和设备能够按照预期运行。
关于混合信号示波器
混合信号示波器(MSO),在DSO的所有功能之上更进一步。MSO可以连接在逻辑分析仪上,能同时输入模拟信号和数字信号,还可以在同一屏幕上显示和对齐这些信号。 如果您需要监测和测试模拟信号和数字信号之间的时效性互动,该仪器将帮助您实现这一目标。另外,MSO相较纯逻辑分析仪更易于操作。如果您之前使用过DSO,那么MSO会很容易上手。
总结
示波器是电信、工程和科学等多个行业的重要工具。您可在我们的知识中心网站阅读完整的示波器基础指南。一台高质量的仪器可以使用很多年都不会损坏,非常值得您去购买。如果您的预算不允许您去购买或更换一台新的示波器,是德科技的二手仪器平台能够为您提供解决方案。您可以在这里以极低的折扣价买到高质量的仪器。我们正在进行以旧换新活动,所以库存每天都在增多。点击上方链接查看我们的最新折扣价。
如何使用示波器?
示波器的使用方法一方面取决于您现有的示波器的型号和配件,另一方面取决于您想要进行的测量活动。下面的几个简要步骤可满足大多数标准使用情况。
如何使用示波器9步走
- 把探头插入示波器,并开机。
- 确保打开了正确的通道,并且关闭了其他通道。
- 将耦合方式设置为直流来查看整个信号,或者设置为交流来过滤直流成分。
- 确保探头设置为正确的衰减比。
- 点击触发键。设置您的触发事件和触发源
- 通过连接接地钩和探针,在内置方波发生器端口测试和调试探头。如果波形图不是静态的,可稍微调整触发电平使其保持稳定。
- 如需要,通过调节探头螺丝来调整探头内置的补偿电容器,直到方波的角度合适。如果您的示波器有自动调节功能的话,可以直接使用“调节”按钮。
- 现在可以开始测量了。把探头和接地夹连接到被测设备或组件上。
- 不要忘记使用示波器的显示控制功能将波形居中显示,并根据需求放大或缩小。
总的来说,示波器提供的功能越多,设置就越复杂。例如:
- 如果您要用MSO同时采集分析模拟信号和数字信号,可能会发生时序偏差。
- 去偏斜控制可以对齐分散的信号,以实现精确的时间相关性。
- 您还需要在定时采集和状态采集之间选择,让示波器按规律的时间间隔采样,或随着信号的特定逻辑状态事件采样。
在工作中多加练习,配合阅读随附的说明书或用户手册,慢慢就能熟悉所有的可用设置。如果想阅读更多教程,请点击这里查看示波器基础指南,或者观看我们最新的有关如何使用示波器的超级指南。
如何使用示波器测量电压?
观看《使用示波器测量电压-两分钟带你成专家(第二季第五集)》
使用示波器手动计算电压
计算电压的最基本方法是记下上到下的分度,再乘以屏幕上显示的伏特/分度数(y轴刻度)。然而,大部分的示波器都没必要使用这种原始的方法。
使用示波器计算电压的简单方式
直接点击“测量(measure)”按钮,或点击触摸屏选项后选择“峰峰电压(peak-to-peak voltage)”。或者用屏幕光标标记两个点即可测量它们之间的电压差。有些示波器还配备有内置数字电压表(DVM)。如果使用MSO的话,不仅能测量模拟信号的参数,如电压随时间的变化,同时还可以验证并行数字信号的完整性。虽然触发数字信号和模拟信号的方式非常不同,但是MSO能够对它们进行去偏移和同步,从而进行简单而精确的测量。逻辑分析仪能够实现的功能MSO几乎都可以做到,并且易用性更强,功能更多。
进行逻辑电路测试
除了上述的测量模拟信号的电压外,您还可以用MSO来测量数字信号和进行逻辑电路测试。
- 把示波器的两个探头连接至通道1和通道2,然后按下“自动(Auto)”键。
- 使用显示控件将两个波形在屏幕上居中显示,就能直观地看到它们的交点和完整周期。
- 用光标在两个波形图的交点上测量电压(即低压和高压翻转),然后记录逻辑输出电平(即逻辑高电平和逻辑低电平)。
关于示波器的更多内容:示波器基础指南 – 如何使用示波器.
如何用示波器和信号发生器测量电感?
即使没有 LCR 表,您也可以用示波器测量电感。例如,您可以使用电流探头,通过读取峰值电流(安培)和脉冲间隔时间(微秒)来测量电压-电流斜坡上的电感。将这些值相乘,然后用总和除以峰值电流,即可得出电感值。您还可以通过设置一个已知电容的电感器并将其与电阻串联来创建一个Tank电路。然后可以根据谐振频率计算电感。或者,在被测系统或电感器上连接一个已知值的电阻器。施加信号并调节频率,使两个器件上出现相等的电压。在此,DSO与MSO一样有效,因为您只需依赖示波器的模拟功。更多信息,请参阅我们的YouTube系列:
《什么是电感?与电感相关的三种效应 – 两分钟带你成专家(第二季第九集)》
更多内容在我们的示波器基础指南。
我在哪里可以买到二手 Keysight 示波器?
是德科技提供的二手设备最多可节省 70%。这些装置由是德科技翻新,并经过全面校准,可以立即使用。
要查看我们全系列的优质二手设备,请在此处查看完整列表。您可以根据带宽、采样率和内存深度等规格轻松搜索。如果您在选择最适合您需求的型号时需要帮助,请查看我们的实用指南或在此处填写“联系我们”表格。