Introduction
Keysight B1500A Semiconductor Device Analyzer
The Keysight Technologies, Inc. B1500A Semiconductor Device Analyzer with EasyEXPERT software comes with more than 150 categorized application tests, which greatly reduce the time required for characterizing new devices, processes and materials. EasyEXPERT provides an easy-to-use, efficient user interface. Implementing a unique “top-down” approach allows users to immediately focus on making measurements without having to learn all the intricacies of the instrument hardware. With EasyEXPERT, users can start making measurements immediately in three easy steps. The application tests provided in the EasyEXPERT software library are conveniently categorized by device type and application. Sample categories include bipolar junction transistors (BJT), complementary metal-oxidesemiconductor (CMOS) transistors, nanotechnology structures and reliability tests. By creating a sequence of tests and by setting the measurement parameters at one location for each test in the sequence, a user can increase test efficiency and improve test quality. A good candidate for a test sequence would be a series of dc tests or a series of current versus voltage (IV) and capacitance versus voltage (CV) tests. The SMU CMU unify unit (SCUU) and attosense and switch unit (ASU) make it easy to switch automatically between CV and IV measurements. This application note demonstrates how a test sequence can be created using tests from the CMOS category with the furnished EasyEXPERT “Id-Vd” and “Vth gmMax” application test definitions as an example.
Creating a test sequence definition
Two or more application test definitions can be executed at once by creating a test sequence definition. This is very useful for running frequently used test routines. A new test sequence definition can be created very easily using existing EasyEXPERT test definitions by taking the following steps:
- Open the New Test Definition window
- Set up the Test Specification tab
- Define the device parameters in the Test Specifications tab
- Define the test parameters in the Test Specification tab
- Set up the Test Contents tab
- Make measurements
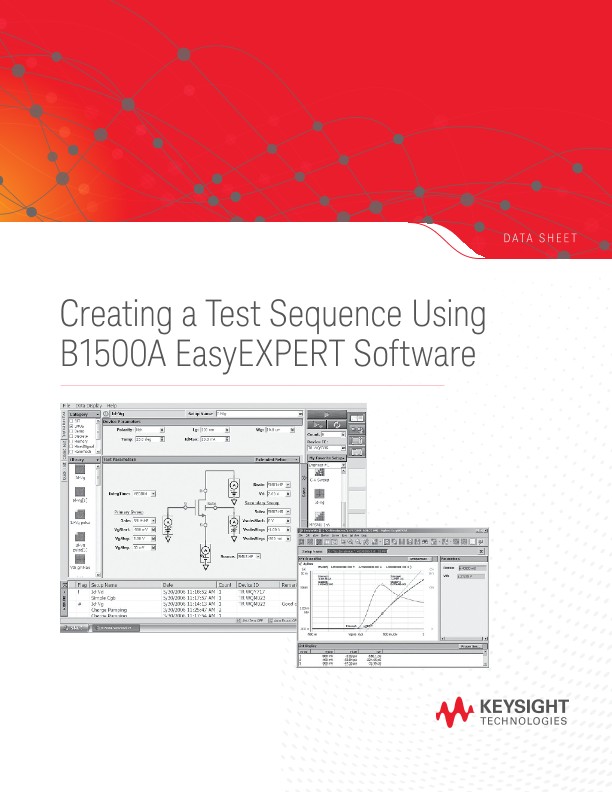
The following sections in this application note provide information on how to create a new test sequence definition by using the existing EasyEXPERT Id-Vd and Vth gmMax application test definitions in the CMOS category. Figure 2 shows the user interface of the new test definition that will be created in this application note. In this case, a new bitmap background image file was created using other software to provide a visual reference. Note that the input parameters for both the Id-Vg and Vth GmMax application tests can be entered in a single window.
Opening the test definition window
The Test Definition window is used to define the test setup used in the application test definition. Figure 3 shows the two steps involved in opening the window:
1. Select the application test category that includes the application test definition to be opened (in this example the CMOS category).
2. In the Library pull-down menu, select “Define New Test.” The test definition window appears.
The Test Definition window provides three tabs to define the test setup.
The Test Specification tab defines the look and feel of the application test by specifying the test information, device parameter definitions, and test parameter definitions.
The Test Contents tab contains the test execution flow - the essence of the test definition.
The Test Output tab specifies the data output and is generally only needed for certain types of very complicated tests.
Defining parameters in the Device Parameters Definition area under the Test Specifications tab
The Device Parameters Definition area is used to input device related parameters, as illustrated in Figure 10, and then to input physical device parameters such as gate length, gate width, temperature, etc. These parameters are generally optional but some application tests require them in order to calculate certain device parameters in conjunction with measured values. In this example, neither of the application tests called by the new application test requires any device parameters to execute. The details of the parameters used as an example in Figure 9 are shown in Table 2 and Table 3.
There are three steps involved in setting up the device parameter definitions:
- Adding the device parameters and defining the name
- Setting the properties of the device parameters
- Setting the default values and descriptions
A new parameter can be added in the Device Parameter Definition area by clicking the Add button. A definition line will appear with the default name “Param1” Here a user can define the parameter name used in the application test. Since these parameters are numeric values, the Properties window appears, as shown in Figure 10. It is important to specify in the Properties window the maximum number of significant digits and the resolution allowed for the numeric input. Any digits entered beyond the specified maximum number or values below those of the specified resolution are automatically reduced to zero. The Digits, Resolution and Unit values can be set by selecting them with the softkey or by inputting them directly. In addition to the minimum and maximum values, typical values can be assigned to the parameter, and the user can choose from the selection menu rather than entering the value from the keyboard.
Oscilloscopes
Analyzers
Meters
Generators, Sources, and Power Supplies
Software
Wireless
Modular Instruments
Network Test and Security
Network Visibility
Services
Additional Products

