Column Control DTX

M9170A PXI Attenuator/Switch Driver

Technical Overviews

Introduction

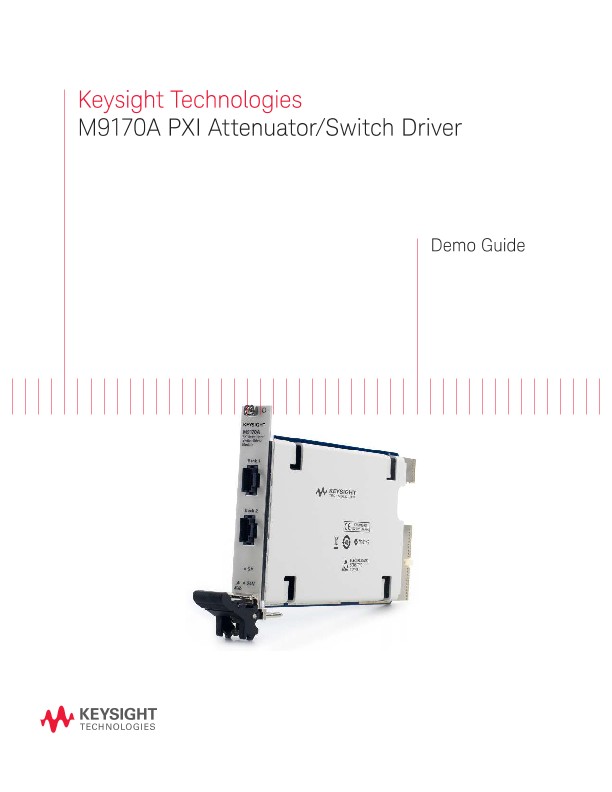
The Keysight Technologies, Inc. M9170A is a one-slot PXI attenuator switch driver module that provides the flexibility to drive Keysight’s expansive portfolio of RF and microwave step attenuators and electromechanical switches. It is a PXI-hybrid compliant module that comes with a full-featured graphical interface soft front panel (SFP) for easy control and trigger.

  • Maximize PXI chassis slot utilization, which ultimately improves testing efficiency
  • Ensure biasing compatibility with most switches on the market, increases system flexibility
  • Select device models and the subsequent switch paths or attenuation levels
  • Intuitive configuration for all Keysight switches and attenuators

This demonstration guide is intended for engineers who wish to learn about the capability and key features of the M9170A. Therefore, it assumes you have basic knowledge of PXI standards and programming. This document provides an overview of the M9170A, and guides you through a step-by-step measurement procedure to quickly configure a switch or attenuator for a PXI system.

Demo Requirements

This guide contains demonstrations using the Keysight M9170A. One or more switches and attenuators are required to fully demonstrate this product. The M9170A works with most switches and attenuators available in the market today; Keysight switches and attenuators are recommended.

There are two sections described below for this demonstration procedure:

a. Mock-up SFP (simulation mode)

b. Demo setup with PXI chassis

B. Demo setup with PXI chassis

Equipment requirements

  • M9170A PXI attenuator/switch driver module
  • Demo kit M9170A
  • M9018A PXIe chassis is recommended
  • You can choose remote controller or embedded controller

i. Remote controller

  • If using a remote controller, install the cable interface and then power up the host PC.

The Keysight M9021A cable interface is recommended for the M9018A chassis; refer to Keysight M9021A Gen 2, x8 PCIe Cable Interface Module Installation M9021-90001 for further details. It’s provides a cabled PCIe link between the M9018A chassis and an external host computer.

ii. Embedded controller

  • If you are using an embedded controller, complete the following steps:

i. Install the embedded controller module into the M9018A PXIe chassis. Refer to the Keysight M9018A data sheet 5990-6583EN for further details.

ii. Connect peripherals (mouse, keyboard, and monitor)

iii. Power up the chassis

Refer to the M9170A configuration guide 5991-0052EN to choose switches and attenuators that are compatible with the M9170A module.

Example: 87104B (Option 161) match with assembly cable M9170-601.

M9170A Module Installation

Install the M9170A PXI module into the PXI chassis (one slot). Figure 2 block diagram shows cable connections for the M9170A demo.

1. Make sure the chassis power switch is in the Off (Standby) position and unplug the PXI chassis.

2. Holding the module by the injector/ejector handle, slide it into an available PXI (or hybrid) slot, as shown in

the figure below.

3. Latch the module by pulling up on the injector/ejector handle

4. Connect the System Interface Card in the chassis to host PC (make sure the PC is turned OFF)

5. Plug in and power up the PXI chassis

6. Power up the host PC

7. Connect assembly cable M9170A-601 to 87104B-161 (same method applies to attenuator)

8. Launch the SFP

×

Please have a salesperson contact me.

*Indicates required field

Preferred method of communication? *Required Field
Preferred method of communication? Change email?
Preferred method of communication?

By clicking the button, you are providing Keysight with your personal data. See the Keysight Privacy Statement for information on how we use this data.

Thank you.

A sales representative will contact you soon.

Column Control DTX