Get your instrument calibrated by the company who designed and built it
Improve operational performance through faster calibration turnaround time, and ensure the ongoing accuracy of your test assets. Keysight Technologies, Inc. uses automation on most procedures to speed the process. The instrument is queried for model number, options present, serial number, and firmware revision. This determines which performance tests to run, which specifications to compare the measured performance against, and, if out-of-tolerance, which version of adjustments to run based on your instrument vintage. If adjustments are required, we retest the instrument to ensure it performs to OEM specification.
Keysight calibration procedures always use lab standard instruments with performance that minimizes measurement uncertainties.
Calibration reports matter!
Keysight provides a record of all work performed in measurement reports. You can access this information on the internet anytime via Infoline to support ISO 9001 quality audits of your company.
Beware of offers to save you money by not providing data, e.g. “cal without data.” This often disguises skipping tests, or substituting lab standards. As a result, the specified performance of your instrument is not tested! The measurement report is the only complete summary of calibration, whether you review it or not. A printout should not cost extra!
Need Z540.3?
Keysight has low measurement uncertainty and acceptance limit guardbanding for ISO 17025 using ILAC-G8 conformance recommendations, along with the ANSI/NCSLI Z540.3-2006 standard. Of course, Keysight also continues to offer ANSI Z540-1-1994 for customers with existing contracts.
Accreditation matters!
An independent accreditation body verifies the technical competency of our laboratories according to ISO/IEC 17025. They assess technician competence, measurement technique, lab standards employed, and measurement uncertainty documentation for every parameter that a lab requests (for example voltage, current, RF power, etc.). Any calibration you receive is performed by a Keysight calibration lab fully accredited for the scope of measurements required for your instrument. This is a Keysight Technologies best practice. Unfortunately, it is not an industry wide practice. Some calibration labs promote their accreditation status for a limited scope of accreditation (usually DC volts, AC volts, ohms, etc.), then offer calibration service for measurement parameters which are not covered in their scope.
When a calibration lab makes measurements outside their published scope of accreditation, it means that an outside auditor has NOT verified that those measurements are performed with lab standards having sufficiently better accuracy than the instrument you submit for calibration. In fact, old lab standards may well have poorer accuracy than the instrument you send in! Also, it likely means that the supplier has not developed an ISO GUM measurement uncertainty budget for that measurement—so you don’t know how accurate the performance measurements really are.
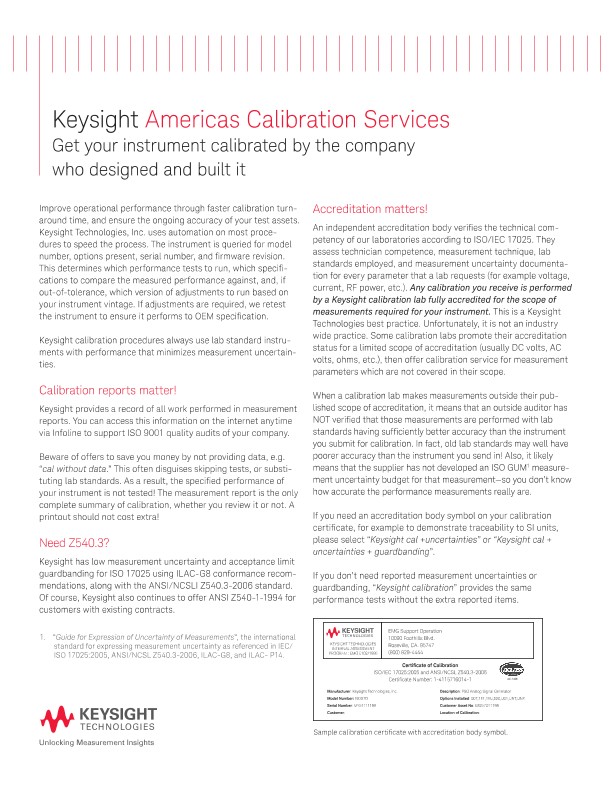
If you need an accreditation body symbol on your calibration certificate, for example to demonstrate traceability to SI units, please select “Keysight cal +uncertainties” or “Keysight cal + uncertainties + guardbanding”.
If you don’t need reported measurement uncertainties or guardbanding, “Keysight calibration” provides the same performance tests without the extra reported items.
Which calibration deliverables meet your needs?
All Keysight calibration services include the full set of manufacturer defined tests for the option mix of your instrument. All adjustments are included, if needed, along with retesting to ensure your instrument meets data sheet specs. You always get a measurement report of all work performed. You simply choose whether or not you want measurement uncertainty reported and whether you need acceptance limit guardbanding.
For “Keysight calibration service,” the instrument specifications are the acceptance limits for pass/fail conformance reporting, and for performing adjustments.
With “Keysight calibration + uncertainties service,” you will also receive the measurement uncertainty in your measurement report. This calibration service and report meets all requirements for ISO 17025:2005 and ANSI Z540-1. The accreditation body symbol is included on the calibration certificate.
With “Keysight calibration + uncertainties + guardbanding service,” you will receive point-by-point measurement uncertainty, per the ISO GUM (Guide for Expression of Uncertainty of Measurements). Further, the acceptance limits are determined by applying a guardband to the instrument specification in the amount of the expanded measurement uncertainty. This calibration service complies with ISO 17025:2005, ILAC-G8, and ANSI/NCSL Z540.3-2006 and includes the accreditation body symbol on the calibration certificate. Keysight delivers Z540.3 calibration service for over 500 models at 14 service centers in Brazil, Canada, Mexico, and the USA.
Oscilloscopes
Analyzers
Meters
Generators, Sources, and Power Supplies
Software
Wireless
Modular Instruments
Network Test and Security
Network Visibility
Services
Additional Products

